
That first snowfall always seems to catch us off guard. You’re standing in your driveway with snow accumulating fast, clutching the pull cord of your Cub Cadet snow blower, but nothing happens when you yank it. Starting issues affect nearly three-quarters of snow blower owners each winter, yet most problems have straightforward solutions you can handle yourself in minutes.
When your Cub Cadet snow blower won’t start, frustration builds quickly as snow piles higher. But before you consider calling for professional help or heading to buy a new machine, understand that 90% of starting problems stem from simple maintenance oversights rather than serious mechanical failures. This guide delivers the exact steps to start your Cub Cadet snow blower successfully—whether it’s the first time this season or you’re troubleshooting a stubborn engine on a freezing morning.
Pre-Start Inspection Checklist for Reliable Ignition
Skipping this critical inspection causes most starting failures before you even attempt to start your Cub Cadet snow blower. Take five minutes to verify these essential components before touching the starter cord or ignition button.
Critical Components to Check Before Startup
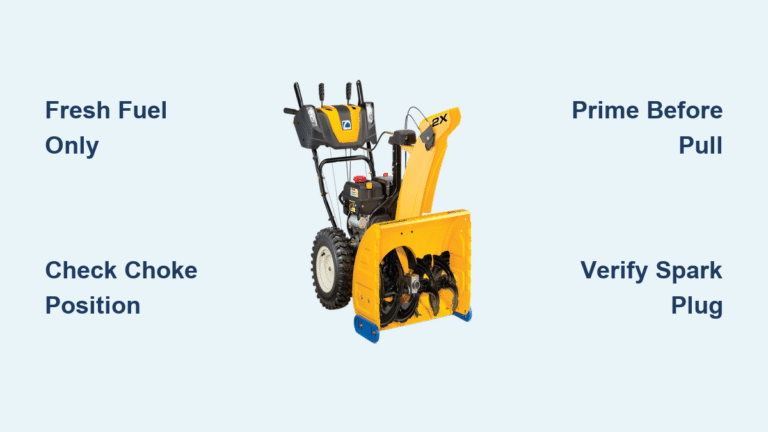
Your snow blower’s ability to start depends on these often-overlooked elements:
– Fresh fuel supply: Gas older than 30 days creates varnish that clogs fuel systems
– Oil level verification: Low oil triggers automatic engine shutoff mechanisms
– Spark plug condition: Carbon buildup prevents proper ignition
– Fuel valve position: Ensure it’s switched to “ON” before attempting start
– Air filter cleanliness: Restricted airflow causes hard starting
Pro tip: Create a dedicated maintenance station near your snow blower storage area with fresh oil, fuel stabilizer, and replacement spark plugs—this cuts troubleshooting time in half when problems arise.
Fuel System Troubleshooting for Immediate Starts

Old gasoline causes more starting problems than any other single factor in Cub Cadet snow blowers. Ethanol-blended fuel breaks down rapidly, leaving sticky residue that blocks critical fuel passages.
Proper Fuel Replacement Procedure
Follow this exact sequence when dealing with stale fuel:
1. Drain completely: Use a siphon pump to remove all old gasoline from the tank
2. Run dry: Start the engine and let it run until it stops from fuel exhaustion
3. Refill correctly: Add fresh 87-octane gasoline with fuel stabilizer (1 oz per gallon)
4. Prime properly: Press the primer bulb 3-5 times until you see fuel movement
Warning: Never attempt to start your Cub Cadet snow blower with gasoline older than 30 days, even if you’ve added stabilizer—this creates more problems than it solves.
Choke Position Guide for Temperature Conditions
Your choke settings make the difference between one-pull starts and endless frustration:
– Below freezing: Full choke position with 4-5 primer bulb presses
– 32-40°F range: Half choke position with 3 primer bulb presses
– Above 40°F: No choke needed, just 2 primer bulb presses
Electric vs. Manual Start Procedures
Different Cub Cadet models require specific starting techniques. Whether you own a 1X single-stage, 2X two-stage, or 3X three-stage snow thrower, these methods work for all variants.
Push-Button Start Success Steps
For Cub Cadet models with electric start capability:
1. Verify power source: Plug into grounded outdoor-rated extension cord
2. Set controls properly: Move choke to full position and throttle to fast setting
3. Engage safety mechanism: Firmly hold the auger control lever against the handle
4. Activate starter: Press and hold the button for 3-5 seconds maximum
5. Adjust choke gradually: Move to half position once engine runs smoothly
Common mistake: Holding the starter button longer than 5 seconds overheats the starter motor—allow 30 seconds between attempts to prevent damage.
Pull-Cord Starting Technique That Works
For traditional recoil start models:
1. Position correctly: Place snow blower on level, stable surface
2. Prime adequately: Press primer bulb until fuel becomes visible
3. Set choke appropriately: Full choke for temperatures below 40°F
4. Pull with proper technique: Pull slowly until resistance increases, then deliver one firm, steady pull
5. Listen for ignition: Engine should catch within 1-3 pulls when everything’s correct
Pro technique: Wear gloves that allow grip but don’t restrict movement—cold hands cause poor pulling technique that strains the recoil mechanism.
Troubleshooting Immediate Starting Failures

When your Cub Cadet snow blower refuses to start despite following proper procedures, systematic diagnosis saves valuable time before the snow gets too deep.
Engine Won’t Turn Over at All
Check these critical components in sequence:
– Battery health: Test voltage (must read at least 12.6V for electric start models)
– Safety interlocks: Ensure all levers are properly engaged
– Ignition switch: Verify connections aren’t corroded or loose
Engine Cranks But Won’t Fire
Focus troubleshooting on these two systems:
– Fuel delivery: Check for clogs in fuel line or filter
– Ignition system: Remove spark plug to verify spark when pulling cord
Starts Then Immediately Stalls
This indicates inadequate fuel supply after initial ignition:
– Partially clogged carburetor: Requires professional cleaning
– Faulty fuel shutoff valve: May need replacement
– Vapor lock: Common in cold conditions, requires waiting period
Cold Weather Starting Secrets for Sub-Zero Conditions
Temperatures below freezing create unique challenges for starting your Cub Cadet snow blower. These proven techniques work even during extreme cold snaps.
Pre-Warming Strategies That Work
Warm critical components before attempting startup:
– Indoor storage: Keep snow blower in unheated garage rather than outside
– Battery warm-up: Bring battery indoors overnight during extreme cold
– Engine block heat: Place heating pad on engine block for 15 minutes pre-start
Starting Fluid Application Protocol
When absolutely necessary:
– Use minimal amounts: One-second burst maximum into air intake
– Remove air filter first: Ensures proper delivery to carburetor
– Allow proper ventilation: Wait 2 minutes before attempting start
Warning: Excessive starting fluid causes detonation that can destroy pistons—use only as last resort.
Post-Start Verification Process
Once your Cub Cadet snow blower starts, complete this 60-second verification before tackling deep snow.
Critical Initial Checks
Monitor these indicators during the first minute of operation:
– Steady idle: Engine should run smoothly without sputtering
– Auger engagement: Verify both rotation and disengagement work properly
– Drive system: Test forward and reverse movement at low speed
Red flag: If the engine runs rough for more than 30 seconds after starting, shut down immediately and investigate fuel or ignition issues.
Maintenance Routine Between Snow Events
Proper maintenance after each use prevents 80% of starting problems for your next snowfall.
Essential Post-Use Steps
Complete these actions after clearing snow:
1. Run engine dry: Operate without choke for 2 minutes to clear fuel system
2. Clear housing: Remove all packed snow from auger and chute areas
3. Inspect shear pins: Replace immediately if damaged or bent
4. Wipe controls: Prevent moisture buildup that causes electrical issues
Off-Season Storage Protocol
Prepare your Cub Cadet snow blower for summer storage:
– Add fuel stabilizer: Run engine for 5 minutes to circulate throughout system
– Change oil: Removes contaminants that degrade during storage
– Fog the engine: Protects internal components from corrosion
– Store with full tank: Prevents moisture accumulation inside fuel tank
When Professional Service Becomes Necessary
Some starting issues require expert intervention to prevent further damage to your Cub Cadet snow blower.
Red Flags Requiring Dealer Attention
Seek professional help immediately if you notice:
– Metal shavings in oil: Indicates internal engine damage
– Persistent starting fluid requirement: Sign of serious carburetor issues
– Electrical system failures: Beyond simple battery replacement
– Knocking or grinding noises: Suggests critical mechanical problems
Important: If your snow blower requires increasingly frequent repairs, consider upgrading to a newer model—Cub Cadet’s latest 3X three-stage snow throwers feature improved starting systems that reduce cold-weather issues significantly.
Mastering how to start your Cub Cadet snow blower eliminates winter’s most frustrating delay when snow starts falling. By following these precise steps—checking fuel freshness, setting proper choke positions, using correct starting techniques, and performing essential maintenance—you’ll achieve reliable starts regardless of temperature conditions. Remember that 95% of starting problems stem from preventable maintenance oversights rather than mechanical failures. Keep this guide accessible near your snow blower storage area, and you’ll be ready to tackle winter’s challenges with confidence. When the next snowstorm hits, you’ll be the neighbor who’s already cleared their driveway while others struggle with uncooperative machines.


