
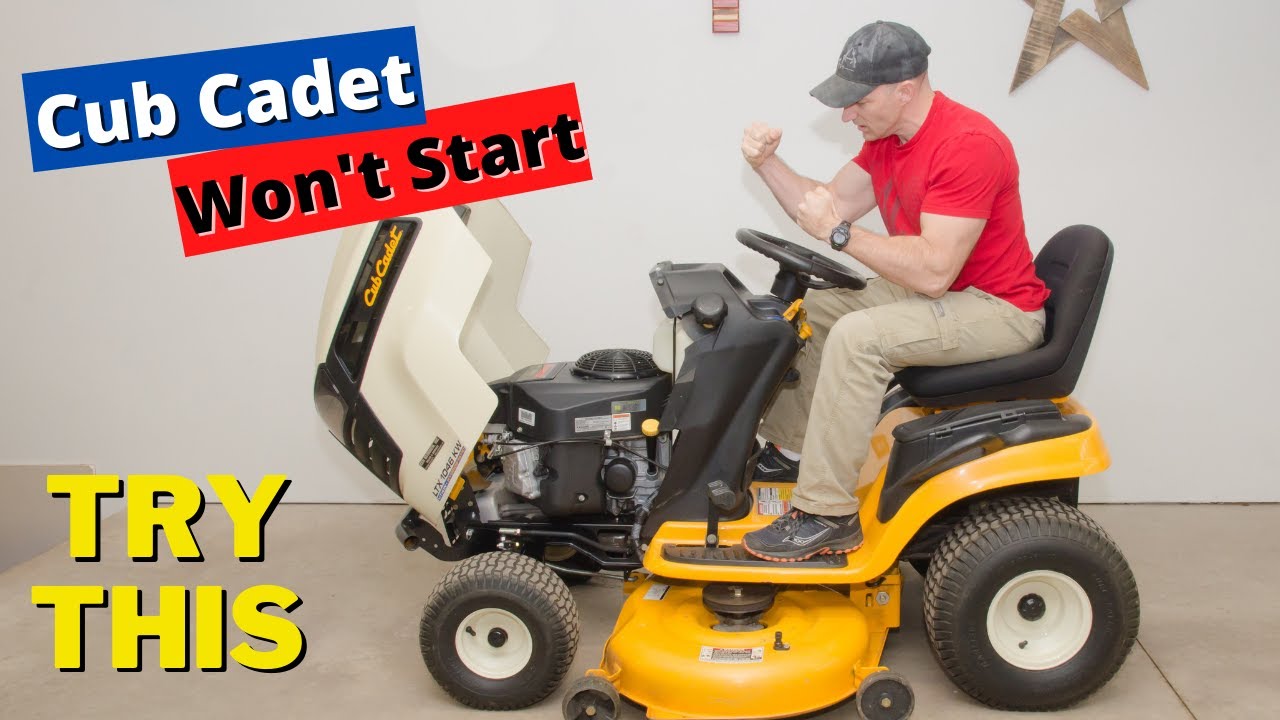
Nothing derails your weekend like a Cub Cadet riding lawn mower that will not start. Whether you hear a click, the engine cranks but won’t fire, or it’s completely dead, there’s usually a simple reason—and often a quick fix. Start with the basics: check the safety switches, battery connections, and fuel shutoff valve. Many no-start problems on Cub Cadet mowers come down to a weak battery, stale fuel, a bad spark plug, or a tripped safety interlock.
In this comprehensive guide, you’ll learn how to diagnose and fix your Cub Cadet starting issues step by step—from easy checks to deeper electrical and fuel system troubleshooting. We’ll cover common causes, multiple solution methods, prevention tips, and when to call a pro. Follow along and you’ll have your mower starting reliably again by the end of this guide.
Common Causes of a Cub Cadet Riding Lawn Mower Not Starting
- Dead or weak battery
- Corroded or loose battery cables/grounds
- Faulty safety interlock switch (seat, brake, PTO blade switch)
- Blown fuse or faulty ignition switch
- Dirty or fouled spark plug
- Stale or contaminated fuel (older than 30–60 days)
- Clogged fuel filter or blocked fuel line
- Carburetor varnish/gumming, stuck float/needle
- Choke not set/working or flooded engine
- Air filter severely clogged
- Faulty starter solenoid or starter motor
- Bad PTO switch engaged (blades on) preventing crank
- Low oil level triggering shutdown (on some engines)
- Loose ground to engine block/frame
How to Fix a Cub Cadet Riding Lawn Mower That Will Not Start

Method 1: Quick Checks You Can Do in Minutes
Approximate time: 5–15 minutes
Diagnosing the Issue
- Does it crank? Yes but won’t start suggests fuel/ignition. No crank suggests battery, starter, or safety switch.
- Any click when turning the key? Clicking points to a weak battery or solenoid.
- Totally dead? Check fuse, battery connections, and safety switches.
Fix Steps
- Verify safety conditions
– Sit on the seat, set the parking brake fully, make sure the PTO/blade switch is OFF/Disengaged, and shift to Neutral.
– Try starting again. - Check battery basics
– Inspect terminals for white/green corrosion. Tighten both clamps snugly.
– If you have a multimeter, measure battery voltage: 12.6V+ is fully charged; below 12.2V is weak. - Inspect the fuse
– Locate the inline fuse near the battery/solenoid (common values 20–30A). Replace if blown with same rating. - Fuel quick check
– Confirm there’s fresh gasoline (E10 or less, 87 octane), less than 60 days old. Open the fuel cap—listen for vacuum release; a clogged vent can cause fuel starvation. - Air and spark quick check
– Ensure the air filter isn’t completely clogged. Temporarily remove and try to start.
– Check the spark plug boot is firmly attached.
Testing
- Turn the key again. If it cranks and starts, let it warm up, then reinstall the filter if removed.
- If still no start, continue to Method 2.
Method 2: Battery, Cables, and Starter Circuit
Approximate time: 20–40 minutes
Diagnosing the Issue
- Symptoms of a weak battery: slow crank, clicking, dash lights dimming.
- Symptoms of connection issues: intermittent power, hot cables, visible corrosion.
- Symptoms of solenoid failure: solid click but no crank; jump across solenoid posts cranks engine.
Fix Steps
- Charge and test battery
– Use a 12V smart charger; charge to 12.6–12.8V. Load-test if available (most auto parts stores test for free). Replace if it fails (typical size U1 or U1R; check your model). - Clean and tighten cables
– Disconnect negative (-) first, then positive (+).
– Clean posts and clamps with a wire brush and baking soda solution (1 tbsp baking soda in 1 cup water).
– Reconnect positive (+) first, then negative (-). Ensure the frame/engine ground strap is tight and clean metal-to-metal. - Inspect the solenoid
– Locate the starter solenoid near the battery. Ensure small trigger wire is tight.
– With key OFF, verify 12V at battery side large post. Have a helper turn the key to START; check if 12V is present at the starter side large post.
– If you hear a click but no 12V out, replace the solenoid. - Check the ignition switch and fuse block
– Wiggle-test the key switch harness while trying to start. If starts intermittently, the switch may be failing.
– Replace any corroded terminals; confirm fuse rating and condition.
Testing
- Attempt to start. If it now cranks strongly but won’t fire, proceed to Method 3 (fuel/spark). If it still won’t crank, inspect safety switches in Method 4.
Method 3: Fuel and Spark—Engine Cranks but Won’t Start
Approximate time: 30–60 minutes
Diagnosing the Issue
- Engine cranks but doesn’t fire: often stale fuel, no fuel to carb, clogged filter, or no spark.
- Starting fluid test: A brief spray of carb cleaner into the air intake; if it fires for a second, you have a fuel delivery problem.
Fix Steps
- Verify fresh fuel and fuel flow
– Drain old gas from the tank if it’s older than 60 days; refill with fresh fuel. Add fuel stabilizer if desired.
– Ensure any fuel shutoff valve (if equipped) is open.
– Replace the in-line fuel filter (arrow toward carburetor).
– Check fuel line for kinks or cracking; replace brittle lines.
– Pull the fuel line at the carb inlet and briefly open the valve—fuel should flow steadily into a container. Use clamps to control flow. - Check and service the carburetor
– Tap gently on the carb bowl with a screwdriver handle to free a stuck float/needle.
– Remove the float bowl (typically one center bolt). Clean the bowl and main jet orifices with carb cleaner and compressed air.
– If gummed, install a carb rebuild kit or replace the carburetor (common on engines like Kohler 7000 series, Kawasaki FR/FS, or Briggs Intek). - Choke and air system
– Confirm choke linkage closes fully when engaged and opens after start.
– Replace a heavily soiled air filter; a clogged filter can over-fuel and flood the engine. - Spark plug service
– Remove spark plug(s) and inspect. Clean or replace if fouled, cracked, or worn.
– Set gap per engine spec (typical 0.030 in / 0.76 mm; check your engine model).
– Ensure the plug wire boots are tight and not arcing. - Flooded engine recovery
– If plugs are wet with fuel, hold throttle full open (choke off) and crank 10–15 seconds to clear. Allow a few minutes, reinstall dry plugs, and retry.
Testing
- Start the engine with proper choke for cold start or no choke when warm. If it runs briefly and dies, re-check fuel filter orientation and venting in the cap.
Method 4: Safety Interlocks and PTO/Brake Switches
Approximate time: 20–40 minutes
Diagnosing the Issue
- No crank at all? A failed safety switch is common. Interlocks include:
- Seat switch
- Brake/clutch switch
- PTO/blade switch
- Neutral switch (on some hydrostatic models)
Fix Steps
- Confirm PTO/blade switch is OFF and not physically stuck.
- Test brake switch
– Ensure the parking brake is fully engaged. Try starting while firmly pressing the brake pedal.
– Inspect the switch near the brake linkage—look for broken tabs or loose connectors. - Test seat switch
– Sit firmly in the seat; try wiggling while cranking.
– Unplug and inspect the connector for corrosion; clean and reconnect. Replace the switch if intermittent. - Test PTO switch
– With key OFF, unplug the PTO switch and inspect for melted terminals. Replace if faulty. - Continuity tests (multimeter)
– With the mower off, test switches for continuity in their correct positions (e.g., brake engaged = closed circuit). Replace any that fail.
Testing
- After each switch check, try starting. If the engine now cranks, the issue was likely an interlock.
Method 5: Starter, Compression, and Engine Health
Approximate time: 30–60 minutes
Diagnosing the Issue
- Strong battery and good interlocks, but still no crank: starter may be bad.
- Cranks fast but never fires and there’s good fuel and spark: check compression and valve clearance.
Fix Steps
- Starter motor test
– Ensure 12V reaches the starter terminal during crank. If yes and starter doesn’t spin, replace the starter.
– Bench test the starter if removed. - Compression and valves (advanced)
– Remove spark plug(s) and do a compression test (typically 90–120+ psi for many small engines; check engine spec).
– Some engines require periodic valve lash adjustment. If compression is low or it backfires through carb, set valve clearances to spec (often intake/exhaust ~0.004–0.006 in; verify for your Kohler/Briggs/Kawasaki model). - Coil/ignition module
– If there’s no spark, inspect the kill wire to the ignition coil (ensure not shorted to ground).
– Check coil air gap to flywheel magnet (typical 0.010–0.014 in). Replace coil if no spark with kill wire disconnected.
Testing
- After repairs, start the engine. If it runs smoothly and restarts reliably, you’ve resolved the underlying issue.
How to Prevent Future Starting Issues
- Use fresh, ethanol-free fuel when possible; add stabilizer if storing more than 30 days.
- Keep the battery on a smart maintainer during off-season.
- Clean and tighten battery terminals every spring.
- Replace the fuel filter annually; inspect fuel lines for cracking.
- Service air filter and spark plug per engine schedule.
- Store the mower in a dry, ventilated area; keep rodents away from wiring.
- Run the engine monthly during winter to circulate fuel and keep carb clean.
Pro Tips
- Important: Always disconnect the negative battery cable before working on electrical components.
- Don’t crank for more than 10–15 seconds at a time; let the starter cool 1–2 minutes between attempts.
- If you smell strong fuel after repeated cranking, you’re likely flooded—clear the cylinders as described above.
- Mark and photograph wiring connectors before unplugging, especially on PTO and ignition switch harnesses.
- Replace fuses with the exact same amperage rating; a higher rating risks wiring damage.
- Keep a spare spark plug, fuel filter, and fuse in your garage—these fix most no-starts fast.
- When in doubt, verify your exact model/engine numbers (e.g., LT42 with Kohler 7000, XT1 with Briggs Intek) for correct parts and specs.
Professional Help: When to Call a Pro
- You’ve verified fuel, spark, battery, and safety switches but it still won’t start.
- Electrical issues with melted connectors, harness damage, or repeated fuse blowing.
- Persistent no-spark after coil replacement, or evidence of rodent-chewed wiring.
- Low compression or valve train noise indicating internal engine problems.
- Carburetor rebuild needed and you’re uncomfortable with small parts/needle settings.
What to look for in a service provider:
– Authorized Cub Cadet dealer or shop experienced with your engine brand.
– Transparent diagnostic fees (typically $50–$120) and turnaround time.
– Warranty support for newer models; keep receipts and serial numbers.
Typical costs:
– Battery: $40–$90
– Starter solenoid: $15–$40
– Starter motor: $120–$220
– Carburetor rebuild/new: $30–$150+
– Safety switch: $10–$30
– Shop labor: $90–$140/hr depending on location
Warranty considerations:
– Modifying wiring or bypassing safety switches can void warranties and is unsafe. Always repair/replace interlocks properly.
FAQ
Q: My Cub Cadet clicks but won’t start. What’s wrong?
A: A clicking sound usually points to a weak battery, corroded terminals, or a failing solenoid. Charge and test the battery, clean/tighten the cables, and check for 12V across the solenoid output while cranking. Replace the solenoid if it clicks but doesn’t pass voltage to the starter.
Q: The engine cranks but won’t fire. What should I check first?
A: Start with fuel and spark. Ensure fresh gasoline, replace the fuel filter, confirm fuel flows to the carb, and check the spark plug condition and gap. If it fires briefly on starting fluid, the issue is fuel delivery/carburetor.
Q: Can a bad seat switch prevent starting?
A: Yes. If the seat switch, brake switch, or PTO switch is faulty, the mower may not crank at all. Inspect and test each switch for proper continuity and replace any that fail.
Q: How old is too old for gas in my mower?
A: Gasoline begins degrading after 30 days and can cause hard starting by 60 days, especially with ethanol blends. Use fresh fuel and stabilizer for storage.
Q: Do I need to adjust valves on my engine?
A: Many Kohler, Briggs, and Kawasaki V-twins specify periodic valve lash checks. Incorrect lash can cause hard starting, backfiring, or low compression. Consult your engine manual for intervals and specs.
Q: My mower starts only with the choke on, then dies. Why?
A: That’s a classic sign of a clogged main jet or fuel restriction. Clean the carburetor, replace the fuel filter, and ensure the tank cap vent is clear.
Q: Is it safe to jump-start from a car?
A: You can jump a 12V mower battery from a car with the car engine OFF to avoid voltage spikes. Connect positive to positive, negative to frame ground. Start the mower, then disconnect in reverse order.
Q: How do I find my exact parts?
A: Locate the Cub Cadet model/serial sticker (usually under the seat or on the frame) and the engine model/serial on the blower housing. Use these numbers on the Cub Cadet site or an authorized dealer to ensure correct parts.
Alternative Solutions
Sometimes the main solutions don’t resolve chronic carb-related starting issues, especially after long storage. Consider:
| Solution | Pros | Cons | Best For |
|---|---|---|---|
| Replace carburetor with OEM | Restores like-new fuel delivery | Higher cost | Severely gummed carbs |
| Install inline fuel shutoff | Prevents flooding, easier storage | Must remember to open/close | Off-season storage |
| Use ethanol-free fuel | Better long-term stability | May be pricier/harder to find | Seasonal equipment |
| Add fuel stabilizer | Extends fuel life | Doesn’t fix existing varnish | Infrequent use |
Get Your Cub Cadet Working Again
By following this step-by-step guide, you now have multiple proven ways to fix a Cub Cadet riding lawn mower that will not start:
– Quick safety, fuel, and battery checks
– Battery, cable, solenoid, and ignition switch diagnostics
– Fuel system cleaning, fresh gas, and carb service
– Safety interlock inspection and replacement
– Advanced checks for starter, compression, and ignition
Don’t let a no-start keep you from mowing. Work through the methods in order, and you’ll pinpoint the problem and get your mower running reliably again.
Have you fixed your Cub Cadet? Share your results or specific model in the comments to help other readers. Found this helpful? Bookmark it for next time. With these steps, you’ll never be stuck with a Cub Cadet that will not start again.