
Few winter tasks feel as satisfying as clearing a driveway in minutes with a snow blower. Yet every season, thousands of homeowners struggle with flooded engines, clogged chutes, or worse—injuries from improper operation. Whether you’re facing your first snowfall with a new machine or looking to refine your technique, mastering how to use a snow blower doesn’t require professional training.
This guide transforms the learning curve into a straightforward path. You’ll discover exactly when to start clearing, how to avoid common pitfalls that damage machines, and safety protocols that protect both you and your property. Let’s turn that intimidating machine into your winter ally—no more wasted hours wrestling with shovels while your snow blower sits unused in the garage.
Pre-Season Equipment Setup Secrets
Manual Deep Dive Strategy
Before the first flake falls, spend 15 minutes with your manufacturer’s guide. Each model—from single-stage electric units to three-stage gas beasts—has unique quirks that determine how to use a snow blower effectively. Study the choke position diagram, locate the shear pin replacement points, and memorize the safety key location. When borrowing equipment, photograph the manual pages or download the PDF to your phone for instant reference during operation. This preparation prevents frustrating mid-storm trips back to the house to consult the manual.
Maintenance Checklist Essentials
Stock shear pins now—when storms hit, stores sell out fast. Check oil levels using the dipstick method: remove, wipe, reinsert, then check the “full” mark. For gas models, drain any fuel older than 30 days to prevent carburetor clogs that sabotage your snow clearing efforts. Electric models need cord inspection—look for cracks or exposed wires that could cause electrical hazards. Schedule professional service in early fall when shops aren’t swamped, ensuring your machine runs reliably when winter arrives.
Hazard Mapping Your Property
Walk your driveway with spray paint or flags before snow covers everything. Mark sprinkler heads, decorative rocks, and the invisible line where lawn meets concrete. Remove garden hoses, toys, and that newspaper you forgot to grab. These projectiles can destroy windows or worse—cause serious injury at 200 mph discharge speeds. This pre-snow preparation is a critical step in how to use a snow blower safely and effectively without damaging your property.
Smart Snow Disposal Planning
Plan your snow placement like a chess game. Never blow snow toward the house foundation—melting snow creates ice dams and water damage. For electric models, map a path that keeps the 100-foot outdoor-rated extension cord behind you at all times. Identify the downwind side of your property to prevent immediate blowback. This strategic planning ensures you won’t create new problems while solving the snow problem.
Engine Starting Made Simple
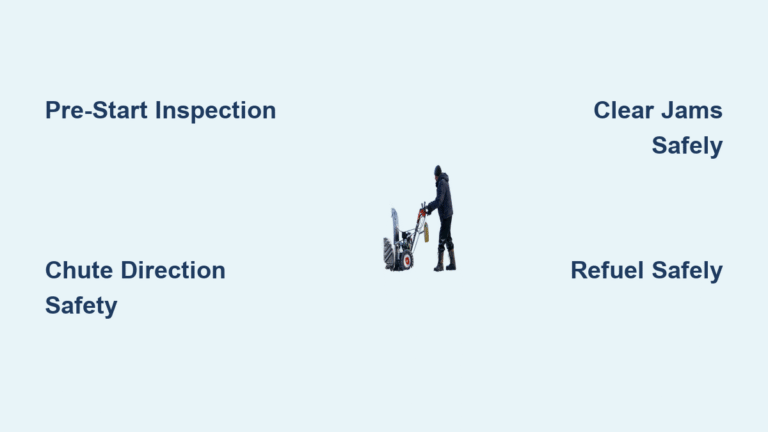
Pre-Start Visual Inspection
Check oil level cold—hot readings lie. Verify fuel freshness by smell; stale gas smells varnish-like and causes starting issues. Set all drive controls to neutral to prevent surprise movement that could damage your machine or injure bystanders. Clear the auger housing of ice chunks using a broom handle, never hands. This inspection takes less than two minutes but prevents 90% of starting problems when learning how to use a snow blower.
Cold Weather Ignition Process
Set the choke to “full” for sub-15°F starts. Prime the bulb twice for mild cold, four times for bitter temperatures. For electric start models, use a dedicated 15-amp circuit—shared circuits cause frustrating half-starts that waste precious clearing time. Pull the starter rope with a smooth, consistent motion rather than violent yanks that can damage the recoil mechanism. Proper ignition technique ensures your machine starts reliably when you need it most.
Warm Start Adjustments
After a five-minute break, skip the priming entirely. Set choke to halfway position to prevent flooding that leaves you stranded mid-driveway. If the engine sputters, resist the urge to pump the primer—this oversaturates the carburetor and requires a 20-minute waiting period before retrying. Instead, wait two minutes and try again with less choke. These warm-start adjustments make how to use a snow blower efficient during extended clearing sessions.
Master Snow Blower Techniques

Timing Your Attack
Start clearing at 4-6 inches accumulation. This prevents the machine from bogging down and reduces overall time by 40%. Heavy, wet snow demands immediate attention—even waiting until morning creates cement-like conditions that strain engines and shear pins. Knowing when to start is crucial in how to use a snow blower effectively before conditions become unmanageable.
Speed Control Mastery
Walk at a pace where the auger processes snow without laboring sounds. Wet snow requires slower speeds to prevent clogging; powder snow allows faster movement. The golden rule: if snow shoots less than 10 feet, you’re moving too fast for conditions. Proper speed control prevents frustrating stops to clear jams and extends your machine’s lifespan.
Single-Pass Strategy
Plan diagonal passes across driveways to move snow progressively toward edges. Work from the center outward on sidewalks. For heavy drifts, take half-bites—clearing partial width prevents overwhelming the machine and actually saves time versus multiple clog-clearing stops. This strategic approach is essential for how to use a snow blower efficiently on large properties.
Chute Direction Tactics
Always discharge downwind. Adjust the chute angle for distance—low angle for near placement, high angle for maximum throw. Never point the chute toward windows, even when they seem far away. Wind can carry ice particles surprising distances. Proper chute direction prevents property damage and keeps neighbors from complaining about snow dumped on their property.
Safety Protocols That Save Lives

Essential Protective Gear
Wear safety glasses—even small ice chips can cause permanent eye damage at high speeds. Choose non-slip boots with aggressive tread patterns to prevent falls on icy surfaces. Avoid scarves or loose hood strings that can wrap around rotating parts in seconds. Dress in layers you can remove if you overheat—physical exertion while operating a snow blower often exceeds expectations.
Carbon Monoxide Precautions
Never start gas models in garages, even with doors open. Carbon monoxide accumulates rapidly and causes disorientation before you recognize danger. Position the machine outside, then engage the drive system. Electric models eliminate this risk entirely—consider this when purchasing your next machine if you frequently clear snow in partially enclosed spaces.
Refueling Safety Steps
Wait 10 minutes after shutdown before adding fuel. Spilled gasoline on hot engine parts causes instant fires that can destroy your machine and potentially your home. Use a small funnel to prevent spills, and never refuel near open flames or pilot lights. Store fuel in approved containers only—never in milk jugs or other containers not designed for gasoline.
Jam Clearing Procedures
When the auger clogs, shut off the engine and wait five seconds—moving parts can coast dangerously. Use the provided clearing tool or a broom handle. Never use hands, even with gloves—fingers can be amputated in milliseconds. If shear pins break (they’re designed to), replace them immediately to prevent transmission damage that costs hundreds to repair.
Troubleshooting Common Problems
Engine Won’t Start Solutions
Check the fuel shutoff valve—many forget this simple step and waste time troubleshooting unnecessarily. Verify the safety key is inserted completely; partial insertion prevents operation. For electric starts, ensure the extension cord clicks firmly into the machine—loose connections cause frustrating half-starts. If flooded (smell gas), wait 20 minutes before retrying with no choke to avoid further complications.
Performance Issues During Operation
Reduced throwing distance usually indicates clogged chute or worn auger belt. Stop immediately and investigate before continuing. Wet snow sticking to chutes? Spray silicone lubricant before use to prevent buildup. Engine surging suggests water in fuel—drain and replace immediately to prevent long-term damage to your machine.
End-of-Session Maintenance
Turn off the fuel valve and let the engine run until it stalls—this prevents carburetor gumming that causes next-season starting problems. Wipe down the machine to prevent rust buildup during storage. For seasonal storage, either drain fuel completely or add fuel stabilizer according to manufacturer instructions. Store with the auger housing slightly elevated to prevent flat spots on tires from prolonged storage.
Master the Machine, Master Winter: Your snow blower becomes a precision tool with these techniques. Start with the pre-season checklist, perfect your starting routine, and always prioritize safety over speed. Each snowfall offers practice opportunities—before long, you’ll clear driveways in minutes while neighbors still struggle with shovels. Remember, how to use a snow blower properly isn’t just about efficiency—it’s about protecting your investment and ensuring every winter storm becomes a minor inconvenience rather than a major headache. The next time snow falls, you’ll be ready with confidence and competence.


